


The holiday season is in full swing. Once gifts have been unwrapped, dishes have been cleared and Last Christmas has faded into memory for the next 11 months, we inevitably begin looking ahead to the new year – and all those exciting home improvement projects waiting around the corner.
For most of us, the past couple of years have meant we have been spending an increasing amount of time at home. Perhaps we have begun noticing things about our house – and floors -that we previously did not see. Or maybe we simply feel in need of a change that is more substantial than hanging some new curtains.
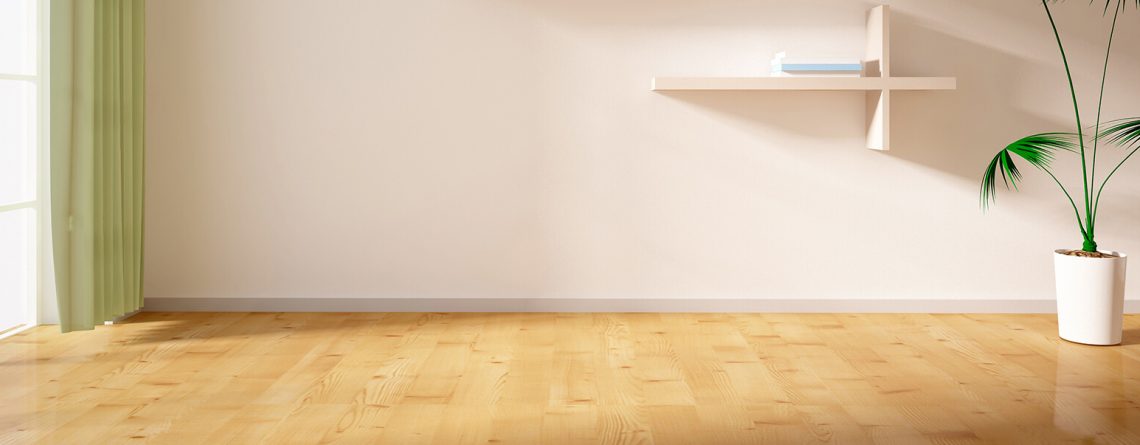
Laying your own floors
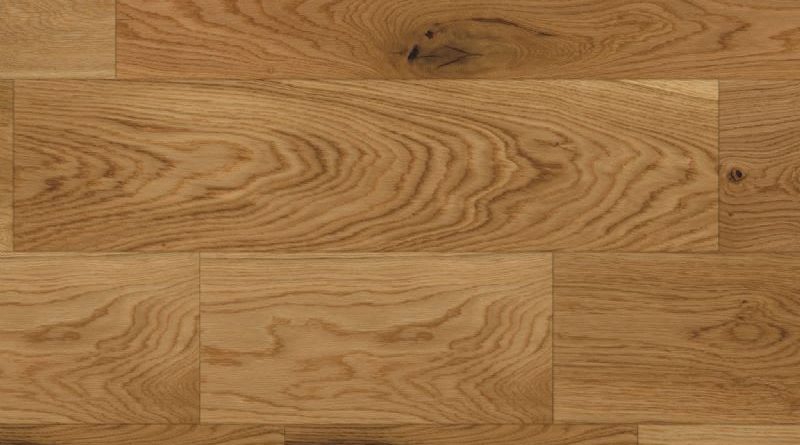
Enter the idea of new flooring. Previously you may have felt you would need to hire a professional to come and lay the floors for you due to lack of time, an additional expense that may have given you cold feet. However, with more time at home on your hands, you may be considering going DIY. With the savings you make, you could choose to invest in proper hardwood flooring.
Firstly, make sure to consult with the store from where you purchase your flooring, so that they can help you with the manufacturer’s instruction in case you have any doubts. This includes the fitting instructions, which may differ between makes. Also consult with your flooring provider how many packs you will need. Most recommend purchasing an extra 10% to allow for any cutting and wastage.
Preparing the wood and subfloor
Wood floor installation needs a level, smooth and dry subfloor. If you live in a damp area, you can use a professional moisture meter to ensure that it is perfectly dry before you start. Sand down any raised spots and fill in any indentations.
The wood planks also need to be acclimatised to the room’s temperature and humidity. This process usually takes between five and seven days. Lay the boxes with the flooring boards flat in the room where you plan to lay them and let them be for up to a week before you begin installing them.
Installation methods differ
The preparation you will need will depend on what type of subfloor you have, as will the method you use to secure the wood floor. Nail-down installation is the most permanent. However, this is only possible on wooden subfloors. Meanwhile, click-lock installation is used when the subfloor is made of cement or tile. With porous surfaces such as concrete, glue-down or adhesive installation is preferable.
Covering the subfloor with underlayment or a moisture inhibitor will protect from spills as well as water vapour that rise from the ground beneath the flooring. It will also protect against noise. However, this is not necessary with the glue-down installation method.
Protection and practicalities
Last but not least when it comes to preparation, make sure you have all the protective gear you will need. This includes knee pads, safety goggles for drilling and sawing, as well as a dust mask to cover your nose and mouth. Now that we have covered the basics and the preparatory steps, follow along to our next posts to take a closer look at the step-by-step practicalities of laying the actual floors using different installation methods.